Classic Woolworth No-Bake Cheesecake Bars
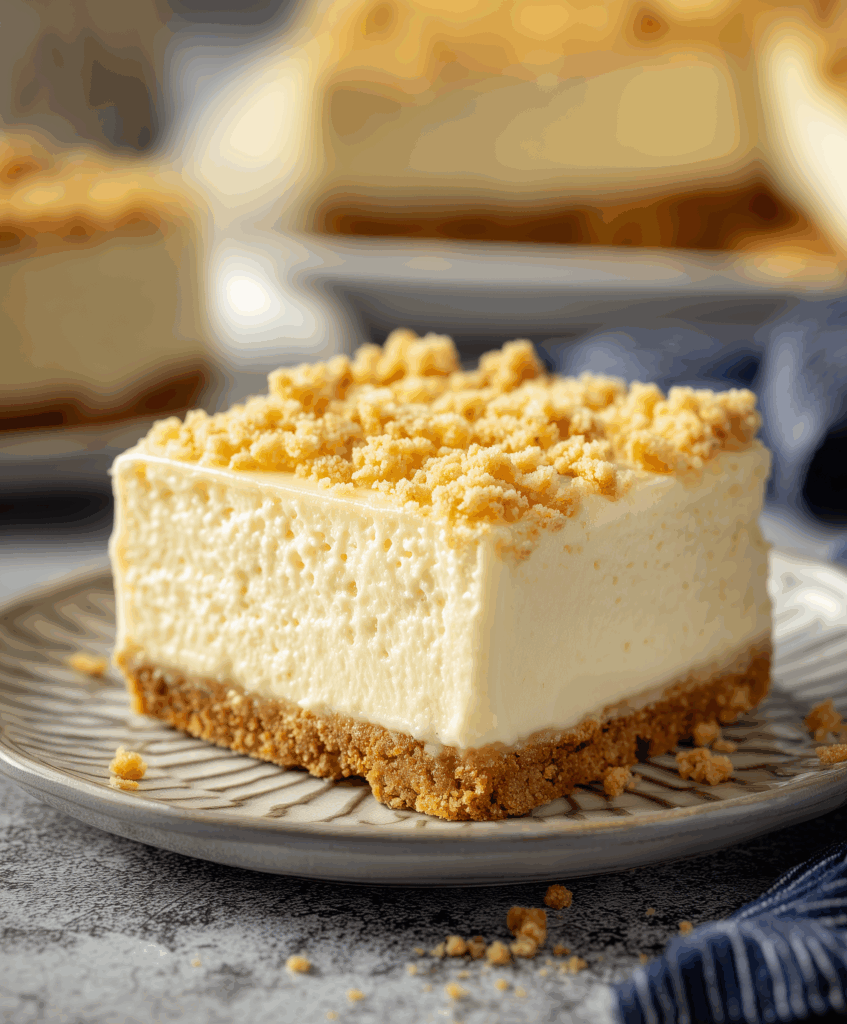
Classic No-Bake Cheesecake Bars are light, fluffy, lemony squares on a buttery graham cracker crust, perfect for potlucks, holidays, and nostalgic dessert cravings.

If you grew up with the old Woolworth lunch counter, this No Bake Classic Woolworth Cheesecake probably brings back memories. The texture is almost mousse-like—airy and creamy, with just enough lemon tang to keep every bite refreshing instead of heavy.
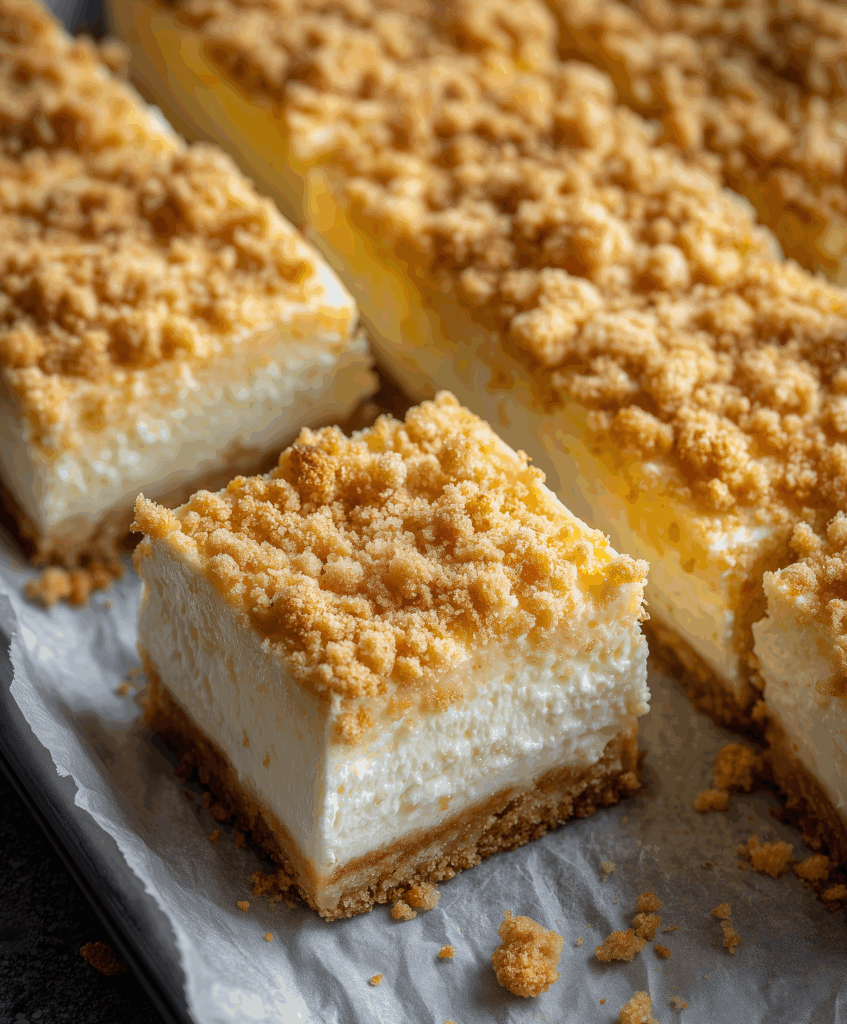
These no-bake cheesecake bars are also incredibly practical. The crust stirs together in minutes, the filling comes together in a couple of bowls, and the fridge does the rest. You’ll get about 24 small bars, ideal for feeding a crowd.
Because the filling relies on whipped evaporated milk and lemon gelatin, it feels lighter than traditional baked cheesecake, but still has that rich, velvety flavor you expect. It’s the kind of recipe you’ll find yourself reaching for whenever you need a make-ahead dessert that never disappoints.
Classic No-Bake Cheesecake Bars Ingredients
Graham cracker crumbs – Form the classic buttery base and give your bars that familiar, sweet crunch in every bite.
Unsalted butter – Binds the crumbs into a sturdy crust and adds rich, buttery flavor without extra salt.
Granulated sugar (for crust) – Lightly sweetens the crust and helps it set firm once chilled.
Cream cheese – The heart of the dessert, providing the tangy, creamy cheesecake flavor and silky texture.
Granulated sugar (for filling) – Sweetens the cream cheese mixture and balances the lemon and tang.
Vanilla extract – Rounds out the flavors with a warm, dessert-like aroma that keeps the cheesecake from tasting too “lemon gelatin–forward.”
Lemon-flavored gelatin powder – Gives the filling structure so it sets without baking, while adding a gentle citrus brightness.
Boiling water – Fully dissolves the gelatin, ensuring a smooth filling with no grainy bits.
Cold water – Cools the gelatin mixture down so it blends evenly into the cream cheese base.
Evaporated milk (well chilled) – Whips into a light, foamy cream that transforms the filling into that signature fluffy, Woolworth-style mousse.

Step-by-Step Classic No-Bake Cheesecake Bars
STEP 1: Prepare your pan by lightly greasing a 9×13-inch baking dish or lining it with parchment, leaving an overhang for easy lifting later. This helps the bars release cleanly when chilled and sliced.
STEP 2: In a mixing bowl, combine graham cracker crumbs, melted butter, and a little sugar. Stir until the crumbs look evenly moistened and sandy. Press the mixture firmly into the pan, really packing it down so the crust holds together once cooled.
STEP 3: In a heat-safe bowl, sprinkle the lemon gelatin powder and pour in the boiling water. Stir slowly but thoroughly until every bit of gelatin has dissolved. Add the cold water and let the mixture cool to room temperature. It should be fluid and cool, not starting to set.
STEP 4: While the gelatin cools, chill a large mixing bowl and beaters. Pour in the very cold evaporated milk and whip on high speed until thick, fluffy, and increased in volume—similar to softly whipped cream. Place the bowl back in the fridge so it stays cold and airy.
STEP 5: In a separate large bowl, beat the softened cream cheese with sugar and vanilla until completely smooth, creamy, and free of lumps. Slowly pour in the cooled gelatin mixture, mixing on low speed until everything is evenly combined and silky.
STEP 6: Gently fold the whipped evaporated milk into the cream cheese–gelatin mixture. Use a spatula and a light hand, turning the bowl as you fold. The goal is to keep as much air as possible, creating that light, mousse-like texture.
STEP 7: Pour the fluffy filling over the prepared graham cracker crust. Spread it into an even layer, smoothing the top with an offset spatula. Tap the pan lightly on the counter to release any large air bubbles.
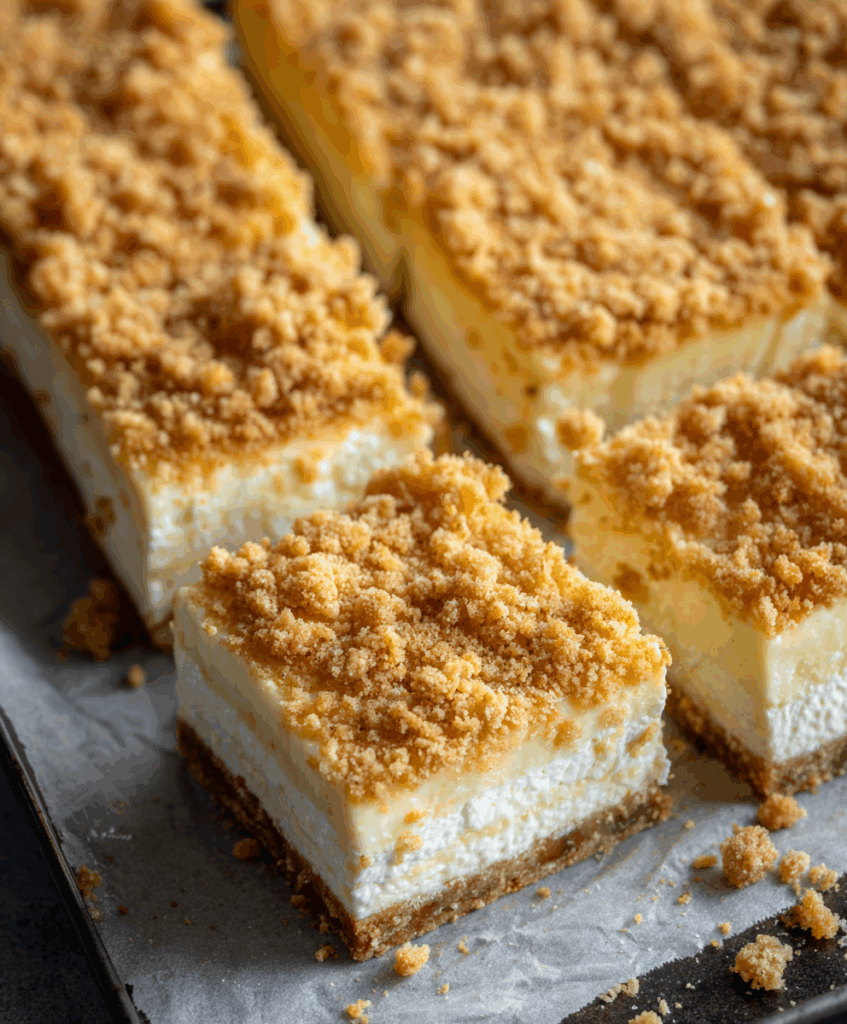
STEP 8: Refrigerate the cheesecake for at least 4 hours, but overnight is ideal for clean slices and full flavor. When ready to serve, cut into squares or bars and lift them out with a thin spatula or the parchment overhang. Serve chilled and enjoy.
Can I make these no-bake cheesecake bars ahead of time?
Yes, this dessert is perfect for making ahead. Prepare it the day before and refrigerate overnight. The flavors meld, the texture firms up, and slicing is much easier the next day.

Why didn’t my no-bake cheesecake set properly?
Most often, the gelatin wasn’t fully dissolved or had started to set before mixing, or the bars didn’t chill long enough. Make sure the gelatin is smooth and fluid, then chill the pan for at least 4 hours.
Can I use fresh whipped cream instead of evaporated milk?
You can. Use well-chilled heavy cream and whip to soft or medium peaks, then fold into the cream cheese mixture. The texture will be a bit richer and less “retro,” but still wonderfully creamy.
How do I keep the graham cracker crust from crumbling?
Make sure the crumbs are thoroughly coated in melted butter and firmly pressed into the pan. A flat-bottomed glass works well. Chilling the crust briefly before adding the filling also helps it stay cohesive.
Helpful Tips
- Press the crust firmly
Use your fingertips or the bottom of a glass to compress the graham cracker mixture into a tight, even layer. A well-packed crust holds together beautifully when you slice the bars. - Keep everything cold for maximum fluff
Chill the evaporated milk thoroughly and whip it in a cold bowl. Cold ingredients help the filling set faster and give you that signature airy, mousse-like texture. - Slice with a hot, clean knife
Dip a sharp knife in hot water, wipe it dry, and slice. Clean and re-warm the knife between cuts for neat, bakery-style squares that showcase those perfect layers.

Serving Ideas for Classic No-Bake Cheesecake Bars
These cheesecake bars are lovely just as they are, but a few simple toppings can dress them up for any occasion. A light dusting of extra graham cracker crumbs gives a pretty, textured finish without overpowering the lemony filling.
For a spring or summer gathering, add fresh berries—think sliced strawberries, raspberries, or a few blueberries scattered on each piece right before serving. Their juiciness pairs beautifully with the fluffy filling and crunchy crust.
If you’d like a more indulgent presentation, drizzle each bar with a thin ribbon of berry sauce or a spoonful of lemon curd. Keep toppings minimal and light so you don’t weigh down the delicate, no-bake structure of the dessert.
Keeping Leftovers Fresh
Leftover Classic No-Bake Cheesecake Bars should always be stored in the refrigerator. Cover the pan tightly with plastic wrap or transfer slices to an airtight container to keep them from absorbing fridge odors or drying out.
They’ll keep their best texture for about 3–4 days. The crust may soften a little over time, but the flavors remain delicious. If you’re serving them for guests, try to cut them closer to serving so the edges stay neat.

You can also freeze these bars. Chill until fully set, then cut into squares, wrap individually, and store in a freezer-safe container. Thaw in the refrigerator before serving. The texture will be slightly denser but still creamy and satisfying.
