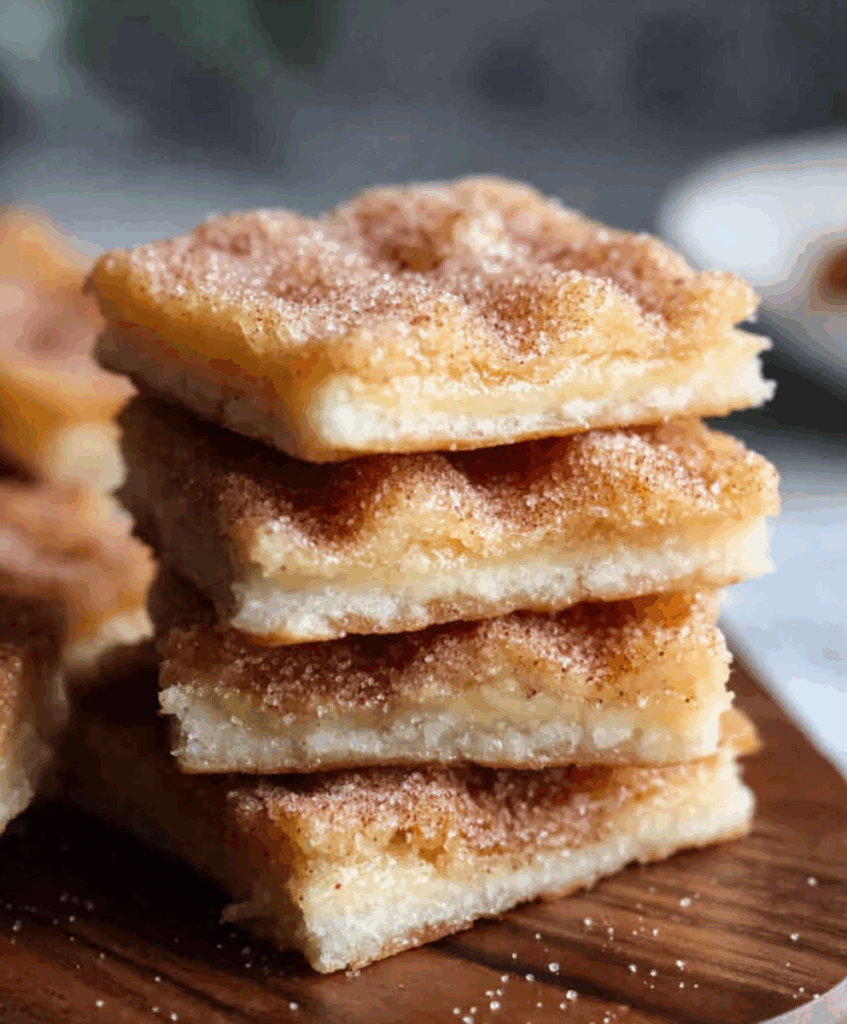
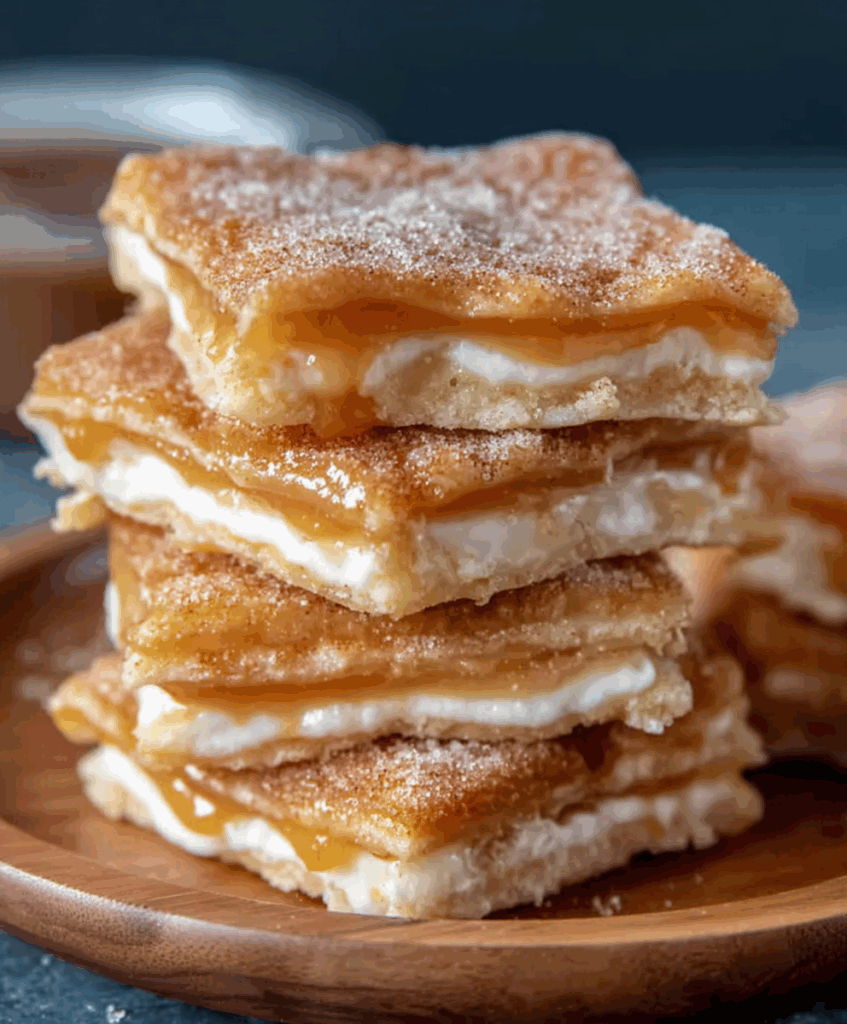
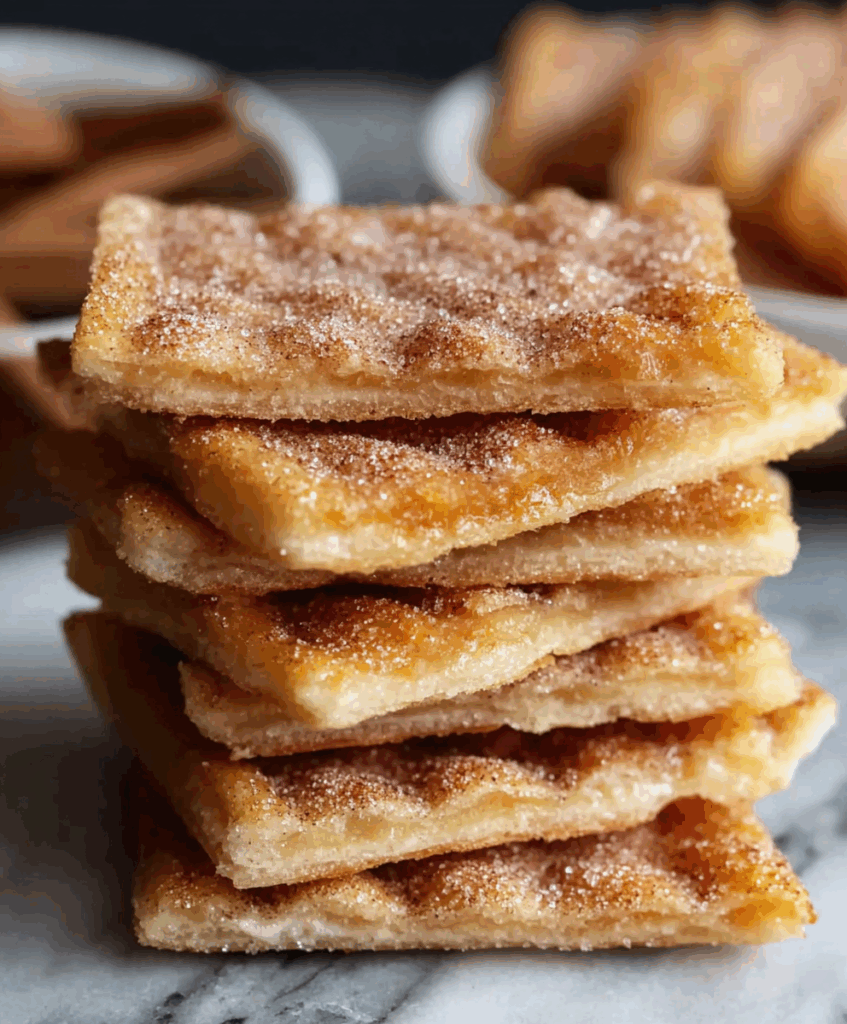
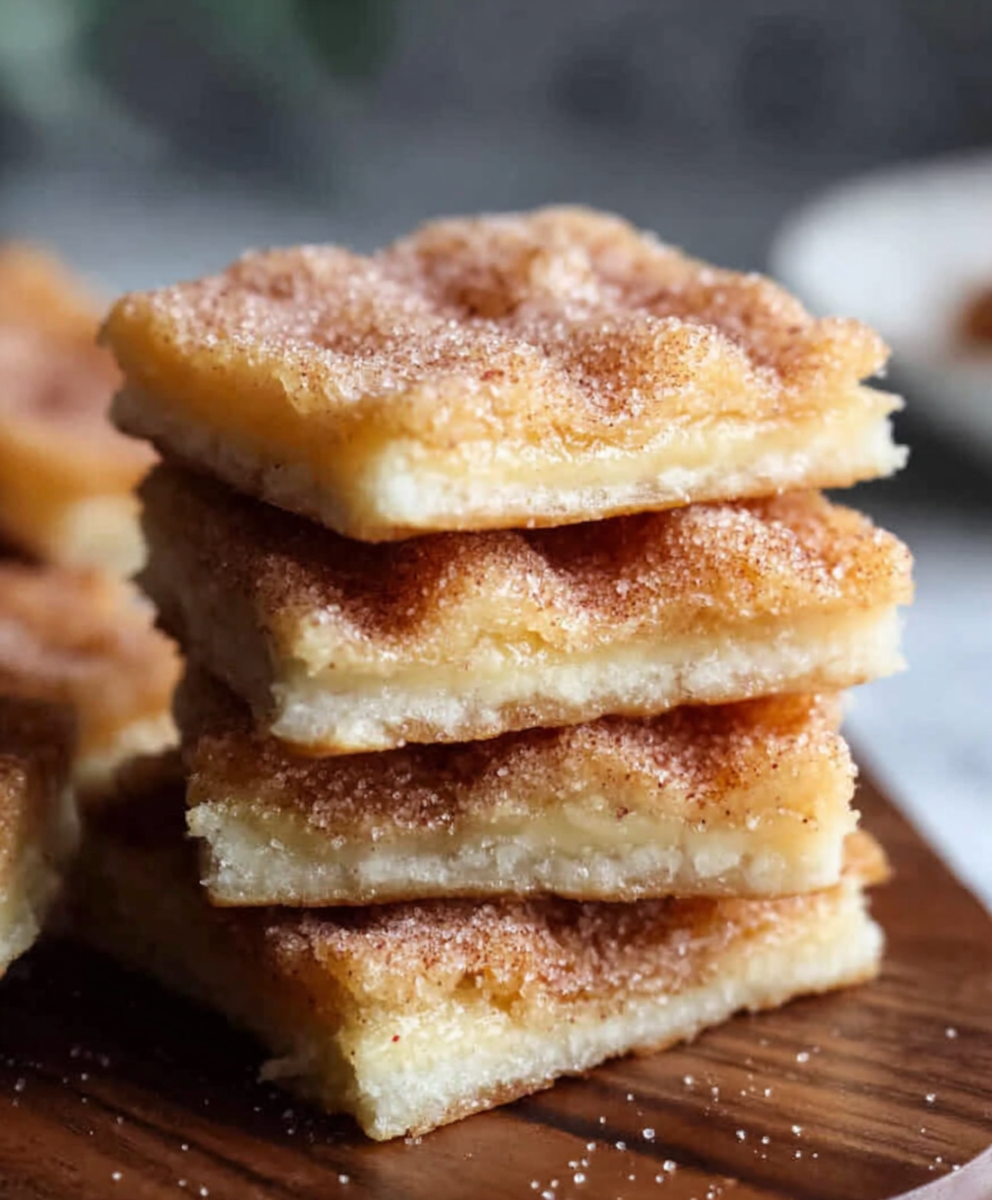
Churro Toffee Saltine Squares
Crispy, buttery Churro Toffee Saltine Squares bring cinnamon-sugar magic to classic cracker toffee for a wildly addictive, shareable treat.

There’s a reason holiday tins and bake-sale tables always make room for saltine toffee: it’s fast, foolproof, and hits every pleasure point—sweet, salty, crunchy, and buttery. This churro-inspired version swaps chocolate for a silky white coating and finishes with a generous cinnamon-sugar dusting, channeling theme-park nostalgia in every shard.
A sturdy layer of saltine crackers keeps the toffee base thin and glassy, so it snaps cleanly instead of turning taffy-soft. Cook the butter-sugar mixture to hard-crack (285°F/137°C), pour over the crackers, and let the oven and chilling time do the rest. The payoff is a pan of shimmering, cinnamon-kissed candy that looks fancy and tastes even better.
Ingredients for Churro Toffee Saltine Squares
Saltine crackers — A crisp, salted base that anchors the toffee and delivers signature snap; enough to fully line a half-sheet pan (about 40–45).
Unsalted butter — Four sticks provide rich body for a clean, classic toffee flavor and shiny finish.
Granulated sugar — Sweetens and caramelizes the syrup to a deep golden hue.
Fine salt — Just enough to round sweetness and highlight the churro spice.
White melting wafers — Smooth, reliable melt and set; white chocolate flavor pairs perfectly with cinnamon sugar.
Cinnamon sugar — A mix of granulated sugar and ground cinnamon for that churro finish and crunchy sparkle.
Step-by-Step Churro Toffee Saltine Squares
STEP 1: Prep the pan and crackers
Line a large half-sheet pan with parchment, leaving overhang for easy lifting. Arrange saltine crackers in a tight single layer, salted side up, covering the entire surface (about 40–45 crackers). Preheat the oven to 350°F (175°C).
STEP 2: Cook the toffee
In a large, heavy saucepan over medium heat, combine 2 cups (4 sticks) unsalted butter, 2 cups granulated sugar, and 1 teaspoon fine salt. Stir continuously as the butter melts and the mixture emulsifies, then bring to a steady boil. Cook until the syrup turns deep golden and reaches 285°F (137°C) on a candy thermometer, 8–12 minutes; stir occasionally to prevent hot spots.
STEP 3: Pour and bake
Immediately pour the hot toffee over the saltines, using an offset spatula to nudge it into the corners. Slide the pan into the oven and bake 5–7 minutes until the toffee bubbles evenly across the surface. Remove and set the pan on a rack.
STEP 4: Coat with white wafers
While the toffee is hot, melt 3 bags white melting wafers according to package directions (microwave in short bursts, stirring often). Pour over the toffee layer and spread into a smooth, even blanket.
STEP 5: Add the churro finish
Whisk together ½ cup granulated sugar with 1 tablespoon ground cinnamon. Sprinkle generously over the warm white coating so it adheres. Transfer the pan to the refrigerator and chill until fully set, 40–60 minutes.
STEP 6: Break or cut
Lift the slab out using the parchment. For rustic bark, snap into irregular pieces. For neat squares, score with a plastic or paring knife after 2–3 minutes of cooling, repeat scoring several times as it firms, then chill and cut cleanly.

Can brown sugar replace white sugar in the toffee?
It can, with a small trade-off. Brown sugar adds moisture and molasses notes, yielding a slightly softer bite and deeper caramel flavor. If using light brown sugar, keep the same quantity and temperature target, but watch color closely, as the darker base can mask doneness. The result leans toward butterscotch—delicious, just a touch chewier.
Why did my toffee separate or feel greasy?
Separation usually comes from heat that’s too high or from vigorous stirring after the syrup begins boiling. A steady medium heat, a wide heavy-bottomed pan, and gentle, occasional stirring keep the emulsion stable. If minor separation appears, whisk briskly off heat to re-emulsify before pouring. Consistent temperature and patience are the best safeguards.
How do I keep the white coating from streaking or spotting?
Moisture and overheating are common culprits. Dry your bowl and spatula thoroughly and melt wafers slowly at 50% power, stirring often to prevent scorching. Once smooth, spread immediately over warm toffee so it flows easily. Avoid refrigerating while still steamy; a short counter rest before chilling can reduce condensation and bloom.
Can I make this without a candy thermometer?
Yes, though a thermometer is the most reliable path. Without one, watch for a deep amber color and thick, lava-like bubbles. A quick cold-water test helps: dribble a bit of syrup into ice water—the threads should harden to a brittle shard that snaps cleanly. Pull it the second it hits that stage to avoid a burnt note.
Helpful Tips
- Line with parchment, not foil, for the cleanest release and unbroken surface.
- Keep the crackers tight and even; gaps create thin spots where syrup can pool.
- If a corner is stubbornly soft after chilling, pop the pan back in the fridge for 10 more minutes before cutting.

Serving Ideas for Churro Toffee Saltine Squares
Set out with coffee or hot chocolate for a cozy dessert board alongside fruit and roasted nuts.
Crumble over vanilla ice cream with an extra shake of cinnamon for a quick sundae.
Pack as gifts in cellophane bags with ribbon; the pieces stay snappy at room temperature.
Storage & Keeping Fresh
Store pieces in an airtight container at cool room temperature for up to 1 week, layering with parchment to prevent sticking. For longer storage, refrigerate up to 2 weeks or freeze up to 2 months; thaw in the container to avoid condensation. To revive the crisp snap after humid days, chill 10–15 minutes before serving.
This pan of Churro Toffee Saltine Squares delivers bakery-level sparkle with pantry ingredients and simple technique. Once the first batch disappears—and it will—doubling the recipe for gifting and snacking becomes second nature.

Churro Toffee Saltine Squares
Ingredients
- Three 10 oz bags of premium white melting wafers such as Ghirardelli, for an even, glossy coating
- Two cups of white granulated sugar to build a rich caramelized toffee layer
- Half a cup of fine granulated sugar blended with one tablespoon of ground cinnamon for the signature churro-style finish
- Two full cups equivalent to four sticks of unsalted butter, delivering a traditional toffee flavor and texture
- One teaspoon of fine sea salt to balance the sweetness and deepen the flavor profile
Instructions
- Begin by lining a large rimmed baking tray—ideally a half-sheet pan—with parchment paper, ensuring full coverage for easy removal. Set it aside for later use.
- In a heavy-bottomed saucepan placed over medium heat, combine the unsalted butter, granulated sugar, and salt. Stir consistently as the butter melts and the sugar begins to dissolve. Continue stirring periodically as the mixture reaches a rolling boil. Allow it to cook until it reaches a deep amber hue and registers 285°F (137°C) on a candy thermometer.
- Immediately pour the hot toffee mixture onto the prepared parchment-lined pan, spreading quickly if necessary.
Option 1 – Rustic Churro Toffee Shards
- Transfer the tray to the refrigerator and chill for 20 minutes until the toffee begins to firm.
- Melt the white wafers according to the manufacturer’s instructions and pour the melted coating evenly over the toffee layer.
- Generously scatter the cinnamon-sugar mixture across the surface.
- Refrigerate once more for approximately 40 minutes, or until fully set. Break into irregular pieces before serving.
Option 2 – Classic Square Presentation
- Let the hot toffee rest for 2 minutes after pouring it onto the tray.
- While it is still pliable, lightly score the surface into squares using a plastic knife. Repeat this scoring process every minute or so, about 4–5 times total, as the mixture begins to solidify.
- Refrigerate for 20 minutes until firm.
- Dip each individual square into melted white wafers and lay them on a parchment-lined surface.
- Sprinkle the tops with the cinnamon-sugar blend and return to the refrigerator for an additional 40 minutes to finish setting.
