Cherry Angel Cake Dessert Bars
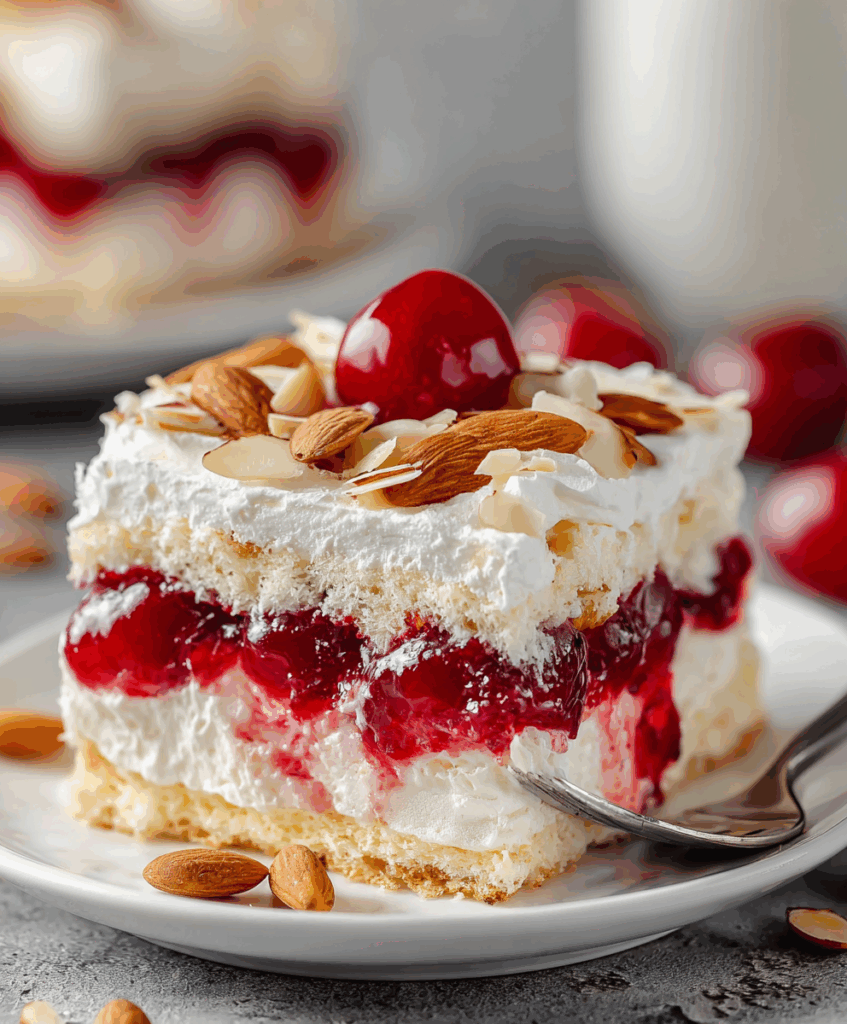
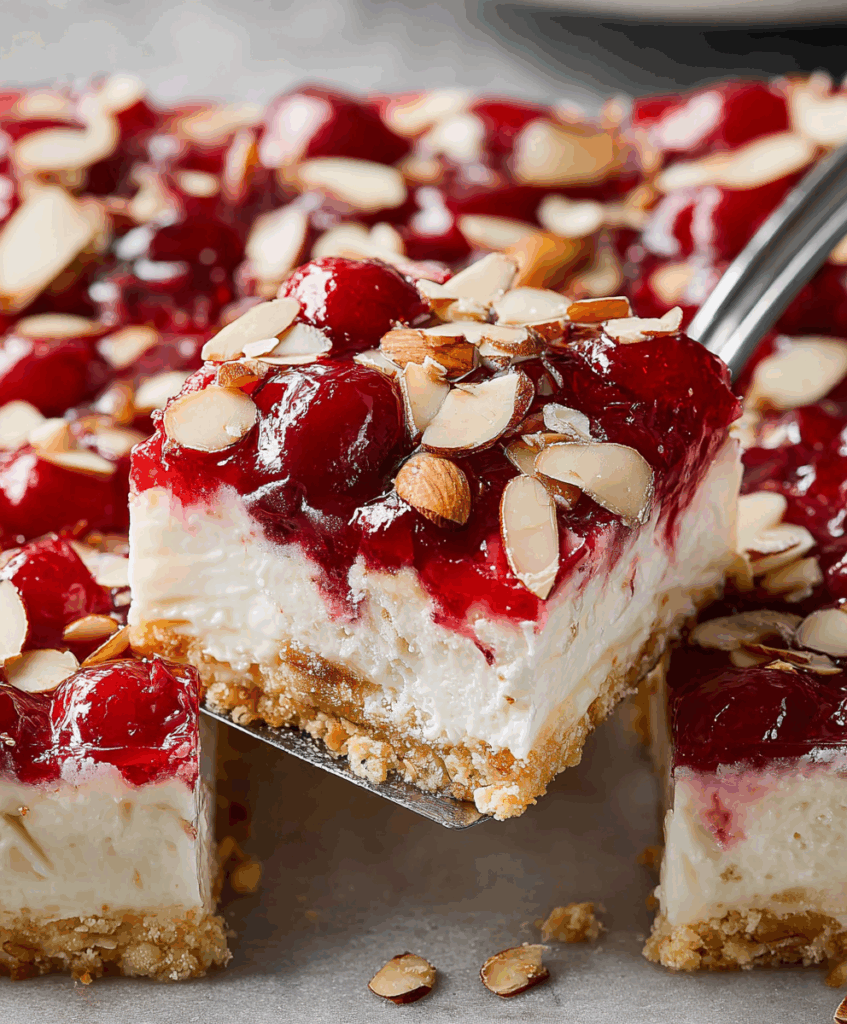
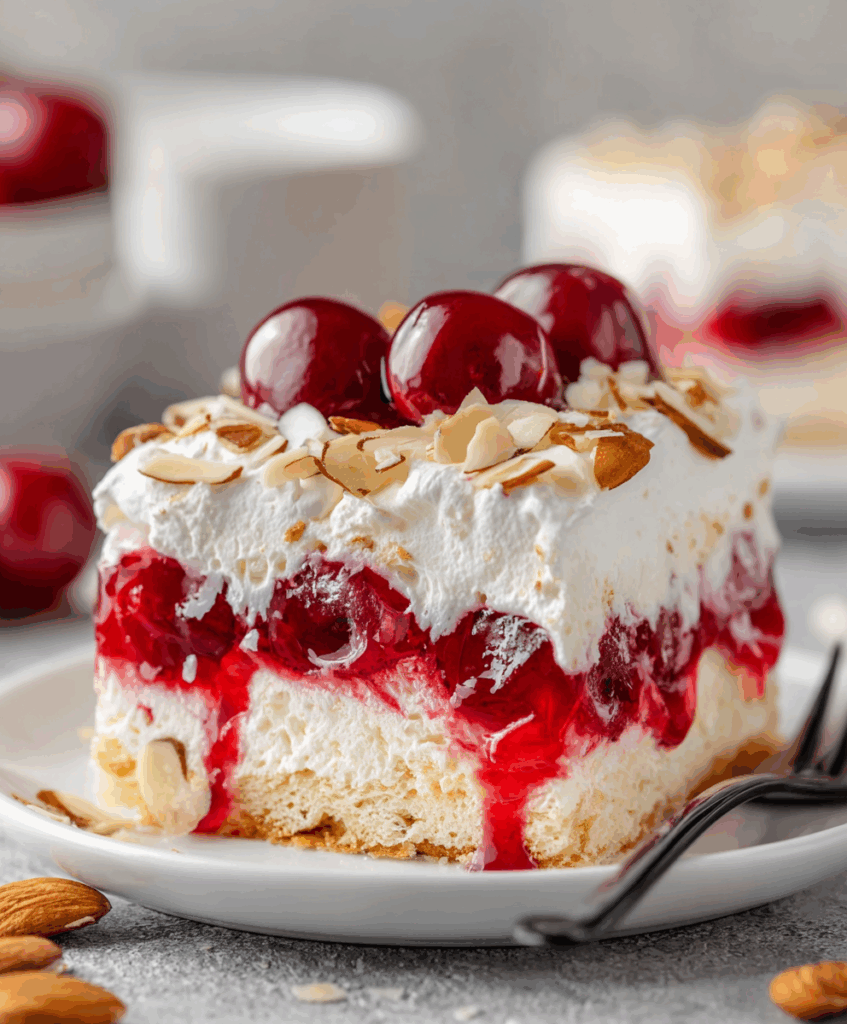
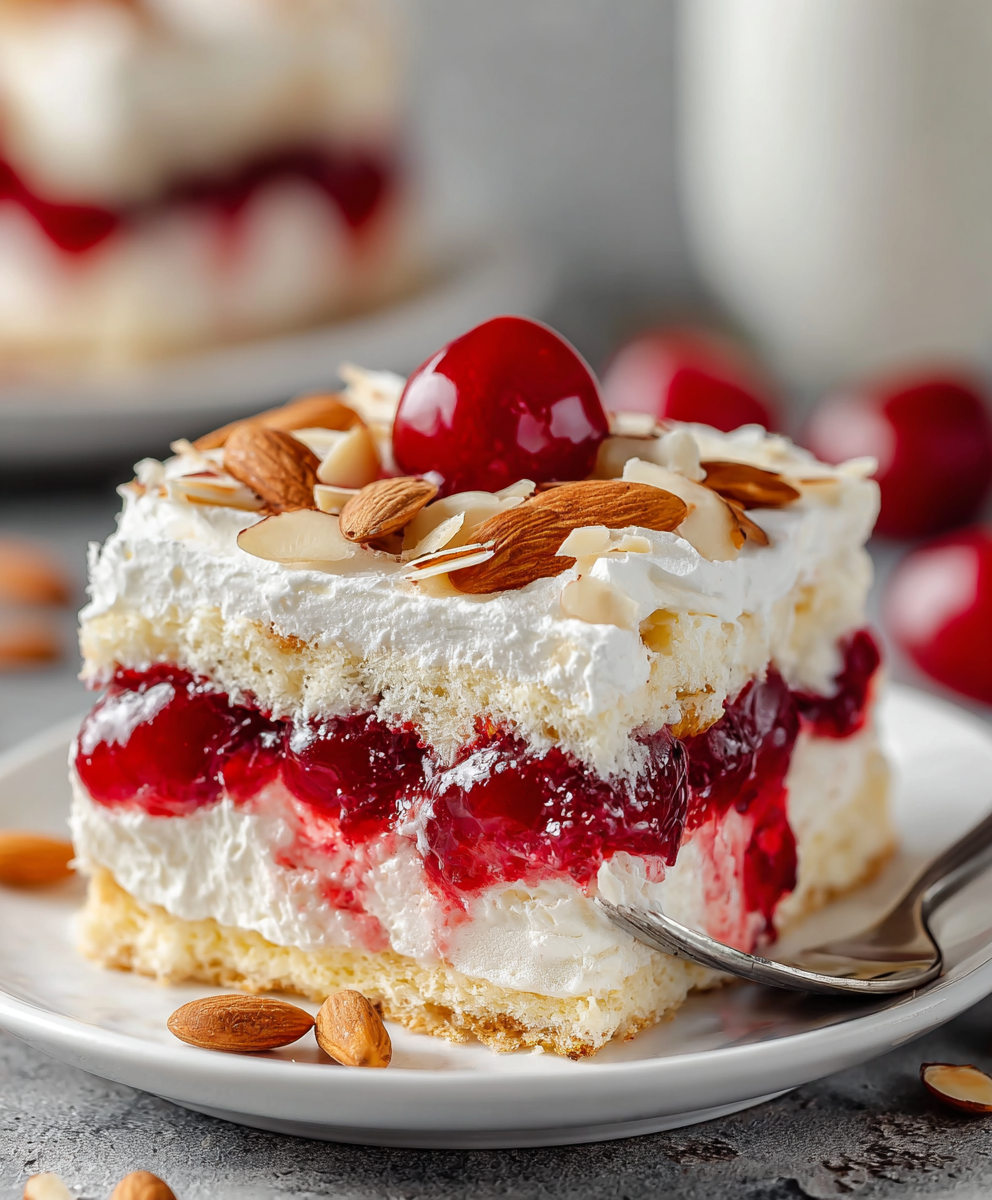
Cherry Angel Cake Dessert Bars are light, fluffy squares swirled with cherry pie filling and topped with whipped cream for an effortless party-worthy dessert.

If you love desserts that feel special but don’t demand much effort, these Cherry Angel Cake Dessert Bars will fit right into your baking rotation. A simple angel food cake mix gets transformed with ribbons of cherry pie filling, then baked into a soft, cloud-like base.
Once it’s cooled, you’ll blanket the cake with a cool, creamy layer of whipped topping. Slice everything into bars, and you’ve got a pretty, pink-flecked dessert that looks like you spent all afternoon on it—when really, your oven did most of the work.
These bars are perfect for potlucks, spring and summer cookouts, Valentine’s Day, or any time you want something fruity and light after a big meal. Serve them straight from the pan, and watch them disappear one fluffy square at a time.
Cherry Angel Cake Dessert Bars Ingredients
- Angel food cake mix – The boxed mix creates that signature airy, spongy texture without needing to whip egg whites from scratch.
- Cherry pie filling – Adds juicy cherry flavor, pretty pink swirls, and extra moisture so the bars bake up tender, not dry.
- Vanilla extract – Deepens the flavor of both the cake and cherry filling, giving a warm, bakery-style aroma.
- Whipped topping – A tub of thawed whipped topping gives you a stable, fluffy “frosting” that’s light and cloud-like.
- Fresh cherries or shaved white chocolate – Optional but beautiful. Use them to garnish the top and hint at the flavors inside each bar.
Step-by-Step Cherry Angel Cake Dessert Bars
STEP 1: Preheat your oven to 350°F (175°C). Choose a 9×13-inch baking dish and leave it ungreased—angel food batter needs that bare surface to climb and get height.
STEP 2: In a large mixing bowl, add the dry angel food cake mix, cherry pie filling, and vanilla extract. Gently fold everything together until combined. The batter will be thick, fluffy, and slightly streaky with cherries, which is perfect.
STEP 3: Pour the batter into the ungreased 9×13-inch pan. Use a spatula to nudge it into the corners and smooth the top. Try not to deflate the batter too much; those air bubbles help keep the texture light.
STEP 4: Transfer the pan to the oven and bake for about 35–40 minutes. The top should be golden and slightly cracked, and the cake should spring back when lightly pressed in the center. A toothpick should come out mostly clean.
STEP 5: Place the pan on a wire rack and let the cake cool completely. This step is important—if the cake is even slightly warm, the whipped topping will melt and slide instead of forming a fluffy layer.
STEP 6: Once cool, spread the whipped topping evenly over the surface of the cake. Take your time to get a smooth, even layer; it becomes the “frosting” for your bars.
STEP 7: Garnish with fresh cherries, a sprinkle of shaved white chocolate, or both. For the neatest slices, chill the pan for at least 30 minutes, then cut into bars using a sharp knife, wiping the blade between cuts.

Can I use a different pie filling?
Yes. You can swap the cherry pie filling for blueberry, strawberry, raspberry, or a mixed berry blend. Just keep the same amount so the batter texture stays similar and bakes evenly.
Can I make these bars ahead of time?
Absolutely. Bake, cool, and top with whipped topping, then cover and refrigerate. They hold well for about 2–3 days. Garnish with fresh cherries just before serving for the prettiest presentation.
Can I use homemade angel food cake instead of a mix?
You can, as long as your homemade batter is designed for a 9×13-inch pan. Fold the cherry pie filling and vanilla gently into the prepared batter, then bake as directed, watching closely so it doesn’t overbake.
How do I keep the whipped topping from melting?
Make sure the cake is fully cooled before topping. If your kitchen is warm, chill the cooled cake briefly, then spread on the whipped topping and return it to the fridge until serving time.
Can I freeze cherry angel cake dessert bars?
Freezing is best done before adding the whipped topping. Freeze the baked, cooled cake tightly wrapped. Thaw in the fridge, then add whipped topping and garnish. Freezing with whipped topping can change the texture slightly.
Pro Tips for Cherry Angel Cake Dessert Bars
- Don’t overmix the batter. Fold gently until you no longer see dry mix. Overmixing can knock out air and make the bars denser instead of light and spongy.
- Use the right pan and leave it ungreased. Angel food cake needs the sides of the pan to help it rise. Greasing can cause the cake to slip down and bake flatter.
- Chill before cutting. A brief chill firms both the cake and whipped topping, giving you cleaner, sharper slices that look great on a platter and hold their shape longer.

What to Serve with Cherry Angel Cake Dessert Bars
- Fresh fruit platter. Pair the bars with a simple spread of fresh berries, melon, or citrus segments to keep the dessert course light and colorful.
- Coffee or tea. The sweetness of the bars goes beautifully with hot coffee or a pot of black or herbal tea, making them perfect for brunch or afternoon gatherings.
- Vanilla or cherry ice cream. For a more indulgent dessert plate, serve each bar with a small scoop of ice cream and a few extra cherries on the side.
Keeping Leftovers Fresh
Store leftover bars covered in the refrigerator. Either tightly wrap the pan or transfer slices to an airtight container. They’re best enjoyed within 3 days, while the cake is still tender and the whipped topping holds its airy texture.
Freezing the frosted bars isn’t ideal, as the whipped topping can become icy and slightly grainy. If you’d like to freeze some, do it with unfrosted cake, then thaw in the fridge and add fresh topping and garnish just before serving. These bars are delicious chilled straight from the refrigerator—no reheating needed.

Cherry Angel Cake Dessert Bars
Ingredients
- 1 can approximately 595 grams / 21 ounces of cherry pie filling
- 1 tub roughly 225 grams / 8 ounces whipped topping, thawed
- 1 boxed angel food cake mix between 425 to 450 grams / 15–16 ounces
- 1 teaspoon of vanilla extract pure variety
- Optional for garnish: a handful of fresh cherries or fine curls of white chocolate
Instructions
- Set your oven to preheat at 350°F (175°C).
- In a sizable bowl, empty the dry angel food cake mix and fold in the cherry pie filling along with the vanilla extract. Stir with care until the mixture becomes uniformly thick and airy.
- Transfer the prepared batter into a 9×13-inch (23×33 cm) baking dish—do not grease the pan. Use a spatula to level the surface evenly.
- Bake the cake in the center rack of your oven for 35 to 40 minutes, or until the top develops a golden crust and springs back gently to the touch.
- Remove the pan from the oven and allow the cake to cool fully in the baking dish, resting it on a wire rack.
- Once cooled, spread the whipped topping evenly across the surface. If desired, finish with a flourish of fresh cherries or shavings of white chocolate. Slice into bars and serve.
