Glazed Lemon Blondie Bars
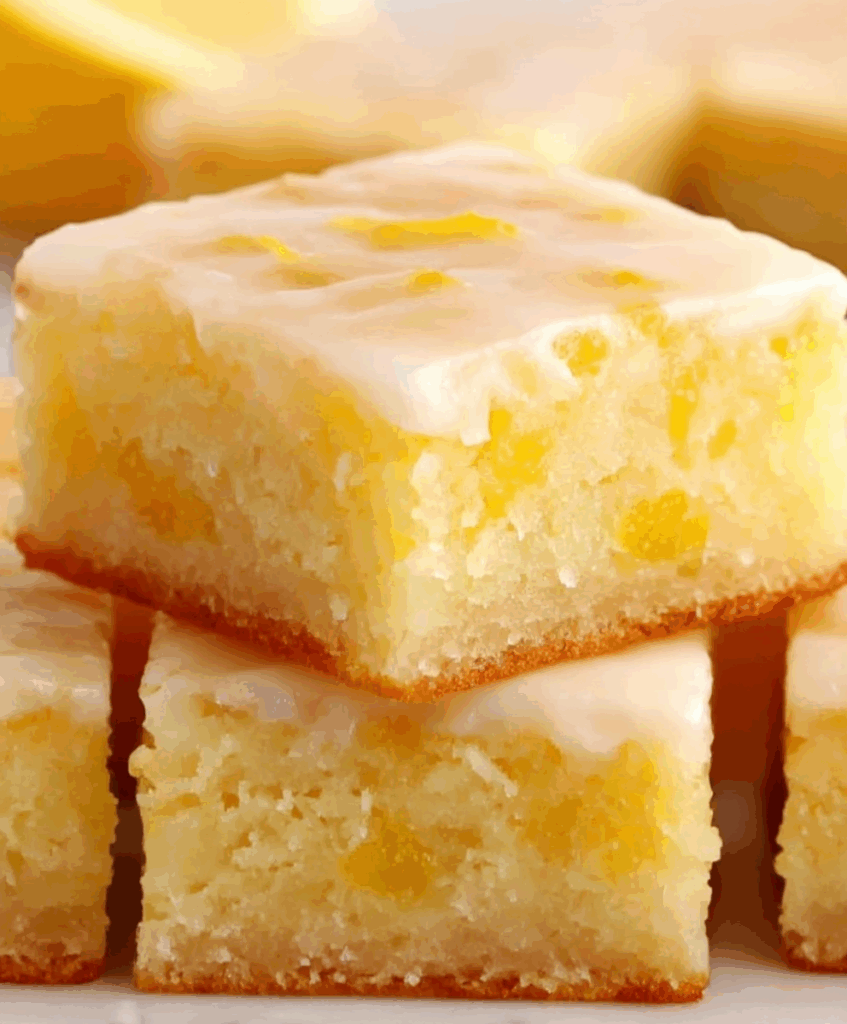
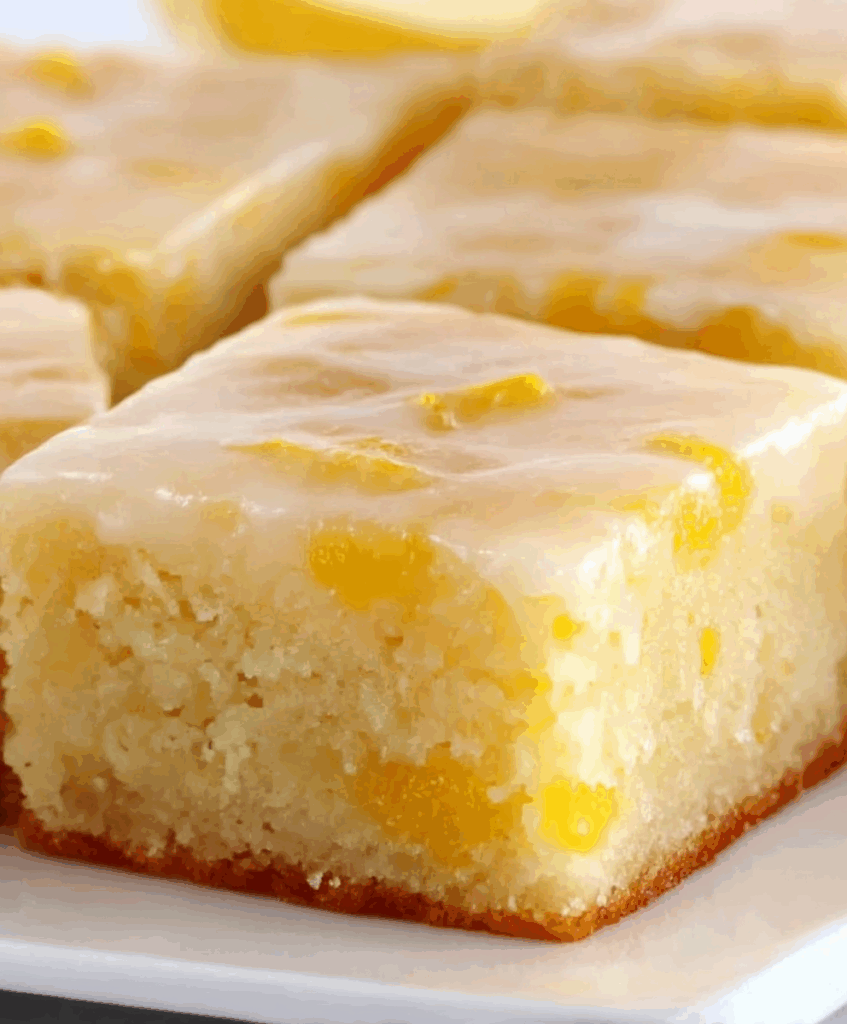
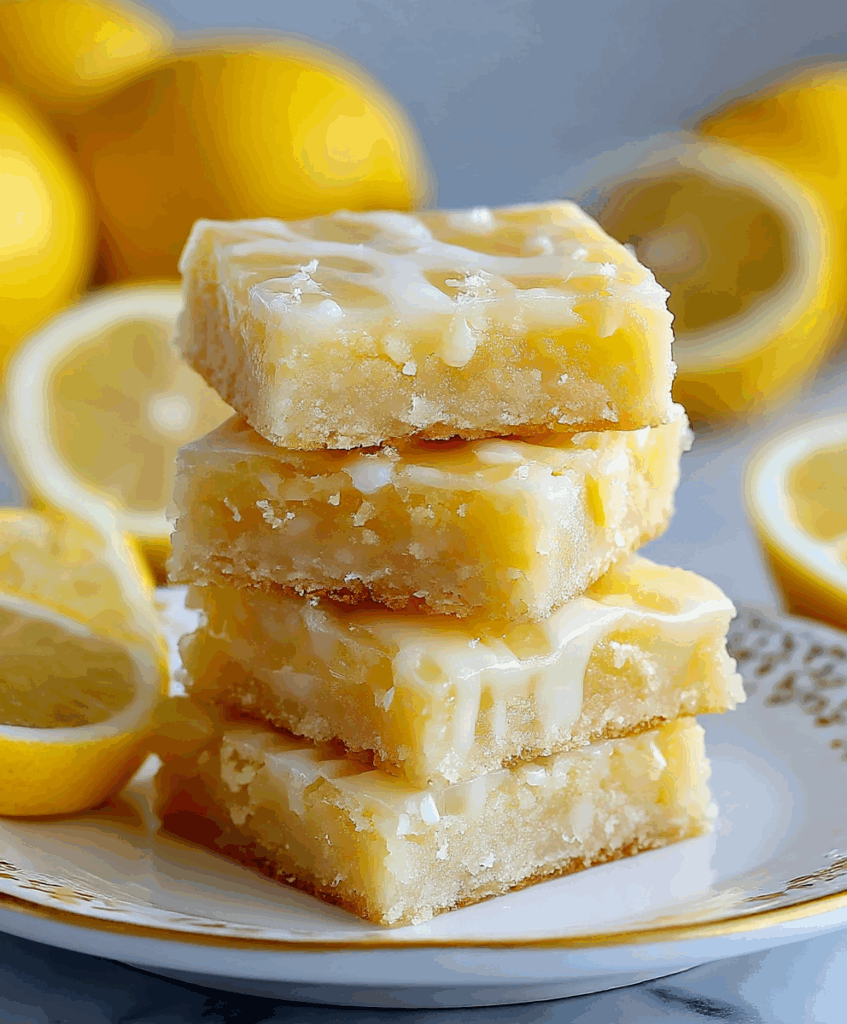
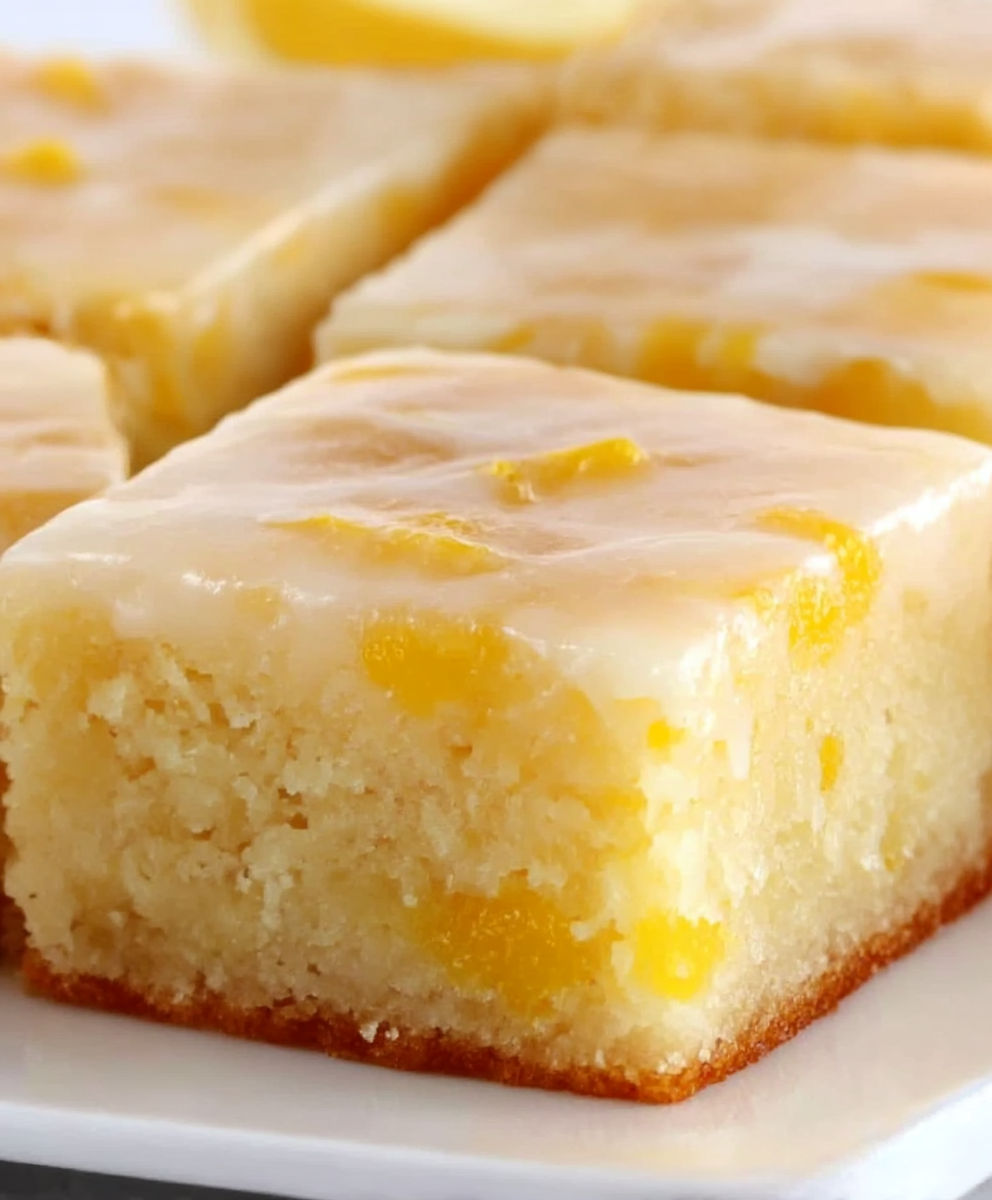
Glazed Lemon Blondie Bars deliver chewy, buttery squares packed with bright citrus flavor and finished with a glossy, tangy lemon glaze.

If you love bright lemon desserts but still crave that dense, brownie-style chew, these blondie bars are going to feel right at home in your kitchen. The base is rich with butter and eggs, perfumed with lemon zest and juice so every bite tastes sunny and vibrant.
They are simple enough for a casual afternoon bake, yet pretty enough for baby showers, potlucks, Easter, or any time you want a tray of bars that practically glow on the dessert table. Mix everything in one bowl, bake, glaze, slice, and you are ready to share.
What You Need to Make This Glazed Lemon Blondie Bars
You only need a handful of pantry staples and a couple of fresh lemons to pull these together.
- Unsalted butter (melted)
Gives the blondies their rich, chewy texture and buttery flavor. Melting the butter keeps the crumb dense, not cakey. - Granulated sugar
Sweetens the bars and helps create that soft, slightly fudgy center that makes blondies so satisfying. - Eggs
Bind the batter, add structure, and contribute to the tender, moist texture. Room temperature eggs mix in more smoothly. - Fresh lemon zest
Finely grated zest from a couple of lemons brings intense, fragrant citrus flavor that you simply cannot get from juice alone. - Fresh lemon juice
Adds bright tang to both the batter and glaze, balancing the sweetness and keeping each square from tasting heavy. - All-purpose flour
Forms the backbone of the blondie base. Just enough flour keeps the bars sturdy while staying soft and chewy. - Salt
A small pinch sharpens the flavors and keeps the sweetness in check so the lemon really shines. - Powdered sugar
Creates the smooth, pourable lemon glaze that sets beautifully on top and adds a pretty, glossy finish. - Extra lemon zest (optional)
A sprinkle on top of the glaze gives extra aroma and a lovely speckled look for serving.
Step-by-Step Glazed Lemon Blondie Bars
STEP 1: Preheat your oven to 350°F (175°C). Line an 8 x 8 inch pan with parchment, leaving an overhang for easy lifting, or lightly grease the pan.
STEP 2: In a large mixing bowl, whisk the warm melted butter with the granulated sugar until the mixture looks smooth and slightly thick. Whisk in the eggs one at a time until fully combined, then stir in the lemon zest and lemon juice.
STEP 3: Sift the flour and salt directly over the wet mixture. Using a spatula, gently fold everything together just until no streaks of flour remain. Stop as soon as the batter looks uniform so the blondies stay tender.
STEP 4: Scrape the batter into the prepared pan and spread it into an even layer, nudging it into the corners. Bake for about 23 to 28 minutes, until the edges are lightly golden and a toothpick in the center comes out with a few moist crumbs, not wet batter.
STEP 5: Place the pan on a wire rack and let the blondies cool for about 10 to 15 minutes. They should still be slightly warm, but not piping hot, before you add the glaze.
STEP 6: In a small bowl, whisk together powdered sugar and enough lemon juice to form a smooth, thick but pourable glaze. If it looks too stiff, add a few drops more juice. If it is too thin, sprinkle in a little extra powdered sugar.
STEP 7: Pour the glaze over the warm blondies and tilt the pan or use an offset spatula to gently spread it to the edges. If you like, scatter a bit of extra lemon zest on top. Allow the bars to cool completely so the glaze can set before lifting from the pan and slicing into squares.

Pro Tips for Glazed Lemon Blondie Bars
- Avoid overbaking
Pull the pan from the oven as soon as the center looks set and the edges are lightly golden. A few moist crumbs on a toothpick mean perfectly chewy blondies. - Adjust the lemon intensity
For a milder flavor, reduce the zest slightly. For extra zing, add an additional teaspoon of zest to the batter or a touch more juice to the glaze. - Slice cleanly
For neat squares, chill the glazed blondies for 30 minutes, then cut with a sharp knife, wiping the blade between cuts.
Can I use bottled lemon juice instead of fresh?
You can, but fresh lemon juice and zest give a noticeably brighter, more aromatic flavor. If you must use bottled juice, at least keep the fresh zest for best results.
How do I keep the blondies from turning cakey?
Do not overmix once the flour goes in, and bake only until just set. Overbaking and vigorous mixing create more gluten, which leads to a lighter, cake-like texture instead of chewy bars.
Can I double this recipe for a crowd?
Yes, simply double all ingredients and bake the batter in a 9 x 13 inch pan. Expect the baking time to increase slightly, so start checking a few minutes later.
Can I make Glazed Lemon Blondie Bars ahead of time?
Absolutely. The bars keep their texture very well. Bake and glaze them the day before, let them cool fully, then store covered at room temperature until serving.
Serving Ideas for Glazed Lemon Blondie Bars
These bars are lovely on their own, but a few simple touches can turn them into a complete dessert. Serve them slightly chilled on a platter alongside fresh berries for extra color and contrast. The tart lemon pairs beautifully with raspberries or blueberries.
For a more indulgent option, add a small scoop of vanilla or berry ice cream next to a warm blondie square. The combination of cool creaminess and chewy, citrusy bar feels restaurant worthy yet incredibly easy to assemble at home.
If you are building a dessert table for spring or summer, set these blondies next to light treats like fruit salad, shortbread cookies, or a simple whipped cream dip. Their bright lemon flavor helps balance richer chocolate and caramel desserts.

Keeping Leftovers Fresh
Glazed Lemon Blondie Bars hold up very well, which makes them ideal for make-ahead baking. Once completely cool and the glaze has set, store the bars in an airtight container at room temperature for up to 3 days. Place parchment or wax paper between layers to prevent sticking.
For longer storage, refrigerate them for up to 5 days. The texture will become slightly firmer in the fridge, but the bars stay moist and flavorful. Let them sit at room temperature for about 15 minutes before serving so the crumb softens again.
You can also freeze these blondies. Slice into squares, arrange on a baking sheet to freeze until firm, then transfer to a freezer bag or container. They keep well for about 2 months. Thaw individual pieces at room temperature, and if you prefer, refresh them with a very brief warm up in the microwave.

Glazed Lemon Blondie Bars
Ingredients
For the Blondie Base:
- 2 large eggs room temperature
- 1 cup 226 grams unsalted butter, melted and slightly cooled
- ¼ cup fresh-squeezed lemon juice approximately from 2 lemons
- 1½ cups 190 grams plain all-purpose flour
- 1 cup 200 grams white granulated sugar
- ½ teaspoon fine salt
- Finely grated zest of 2 lemons roughly 2 tablespoons
For the Glaze:
- 1 cup 120 grams sifted confectioners’ sugar
- 2 tablespoons freshly pressed lemon juice more as needed for desired texture
- Optional garnish: additional lemon zest finely grated
Instructions
- Preheat the oven to 350°F (175°C). Prepare an 8×8-inch square baking tin by lining it with parchment paper or lightly greasing the surface to prevent sticking.
- In a large mixing bowl, combine the melted butter and sugar. Whisk until the mixture turns smooth and slightly glossy. Incorporate the eggs one at a time, mixing thoroughly after each addition. Blend in the lemon juice and zest.
- Gradually add the flour and salt to the wet mixture. Fold gently using a spatula or spoon until no dry streaks remain, being cautious not to overwork the batter.
- Transfer the batter into the prepared baking dish, spreading it into an even layer. Bake in the preheated oven for 23 to 28 minutes, or until the edges are lightly golden and a toothpick inserted into the center emerges with moist crumbs.
- While the blondies are cooling slightly in the pan, whisk together the powdered sugar and lemon juice in a small bowl until smooth and pourable.
- Drizzle the glaze evenly over the warm blondies, smoothing it toward the corners with a spatula if necessary. Allow the bars to cool completely at room temperature until the glaze sets before cutting into squares.
